How to Clip on Twitch? Here’s Everything You Need to Know
Written by: Hrishikesh Pardeshi, Founder at Flexiple, buildd & Remote Tools.
Last updated: Jan 19, 2023
With over 140 million monthly active users, Twitch is one of the world’s most popular live-streaming services. It is popular among gamers and content creators primarily.
Twitch streamers can broadcast their gameplay or any other activity with their subscribers. Naturally, the app is full of fun, intense and hilarious share-worthy moments.
Twitch launched the ‘clips’ feature that allows watchers to enjoy these moments. With clips, you can create short video snippets (or, clips) of any video you are watching. Sounds interesting? We are sure it does.
If you are a new user and have been wondering about how to clip on twitch, this article is for you. Keep reading to know more.
Table Of Contents
- What Are Clips on Twitch?
- How To Clip On Twitch For Desktop? [Windows & Mac]
- How To Clip On Twitch For Smartphones? [Android & IOS]
- How To Create Clips on Twitch For Xbox One?
- How To Manage Clips On Twitch?
- How To Delete Clips On Twitch?
- How To Share My Twitch Clips?
- Conclusion
- FAQs
TL;DR
To clip on Twitch, you should:
What Are Clips on Twitch?
A Twitch clip is a video segment that spans a length of 5 to 60 seconds. It can be created by both streamers and subscribers.
Subscribers get the chance to revisit their favorite parts of the stream and streamers can store the best moments of each broadcast.
In addition to this, Twitch also lets users edit the takes. This implies that you can nail down the exact moments you want to capture.
Once your clips are ready, you can share them with a simple touch of a button on the app. You can choose to share them as clips on social media or as Twitch links. Twitch will also publish them for everyone to see.
How To Clip On Twitch For Desktop? [Windows & Mac]
You can either use the Twitch desktop app or the official web app for browsers to capture clips on Twitch. Here’s how you can do it:
- Enter your credentials and sign in to your account on Twitch.
- Now, start playing a previous broadcast or a live stream of your choice.
- When you come across something that you find interesting or worth sharing, hover your course over the video.
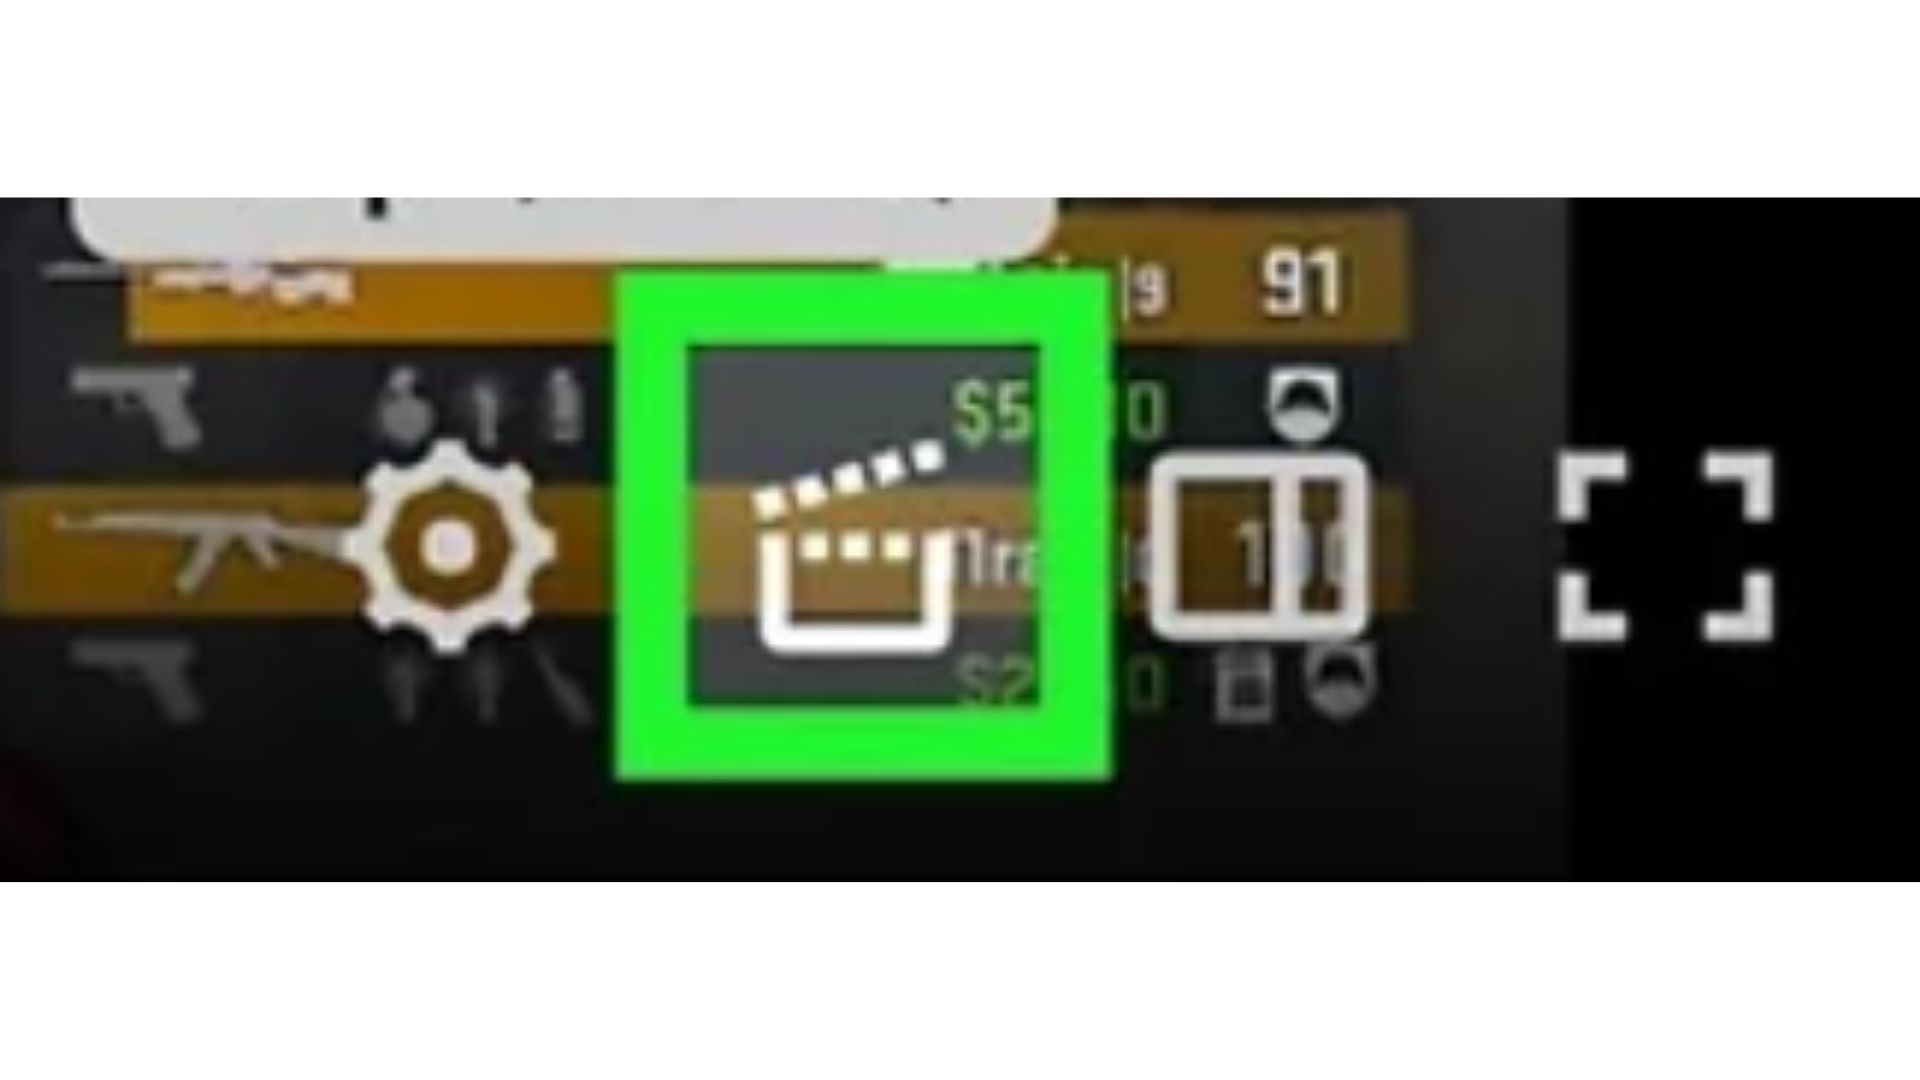
- Now, in the list of options, choose the ‘clip’ option. It looks like a clapboard and is available on the bottom-right corner of the pane.
- In case you are unsure of the option, place your cursor on each option and wait for a few seconds to see the name of the feature.
- Alternatively, you can speed up the clipping process by using the keyboard shortcut: 'Alt+X' (Windows) or 'Option+X' (Mac).
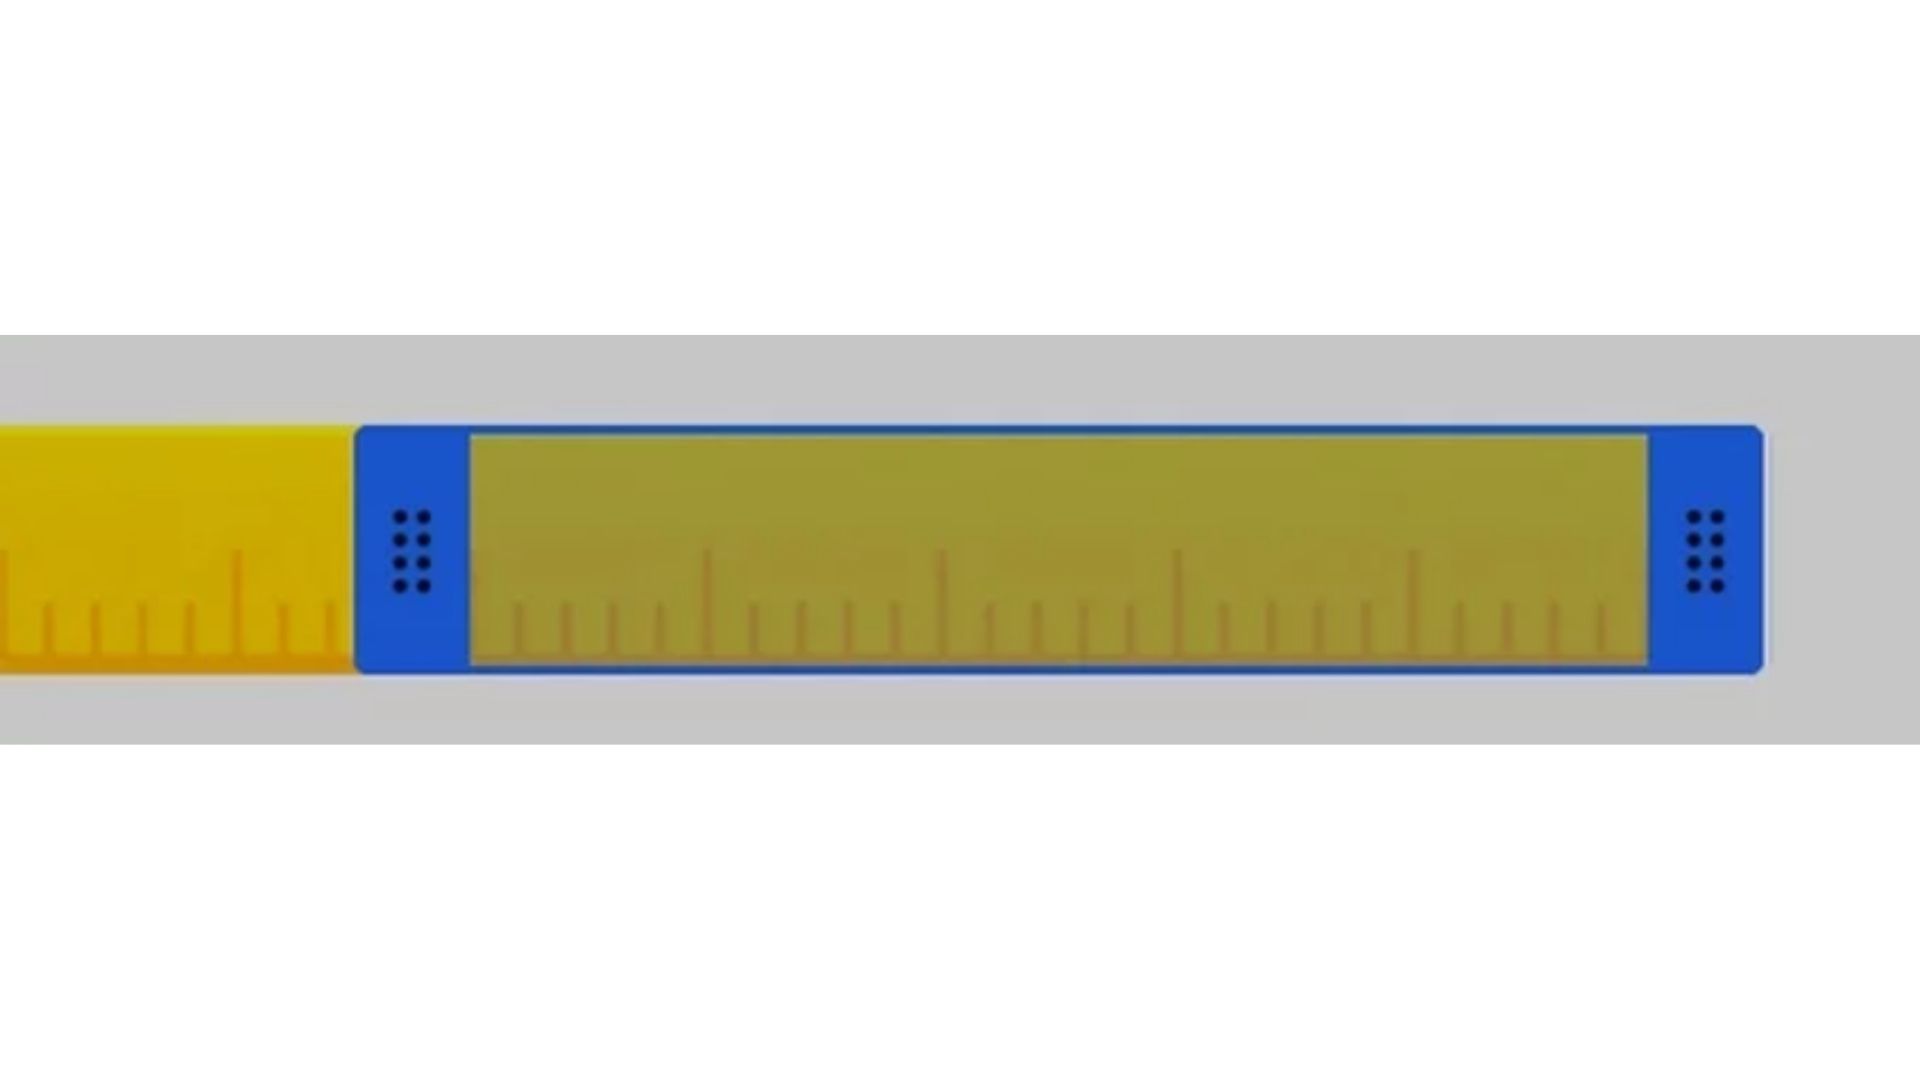
- The new screen will load the clip creation screen. You can drag and move the handles within the timeline to trim your video according to your preference.
- You can add a title to the clip and hit ‘publish’ for the world to see.
- You can press the social media icons to directly share the clip with your friends on their respective channels.
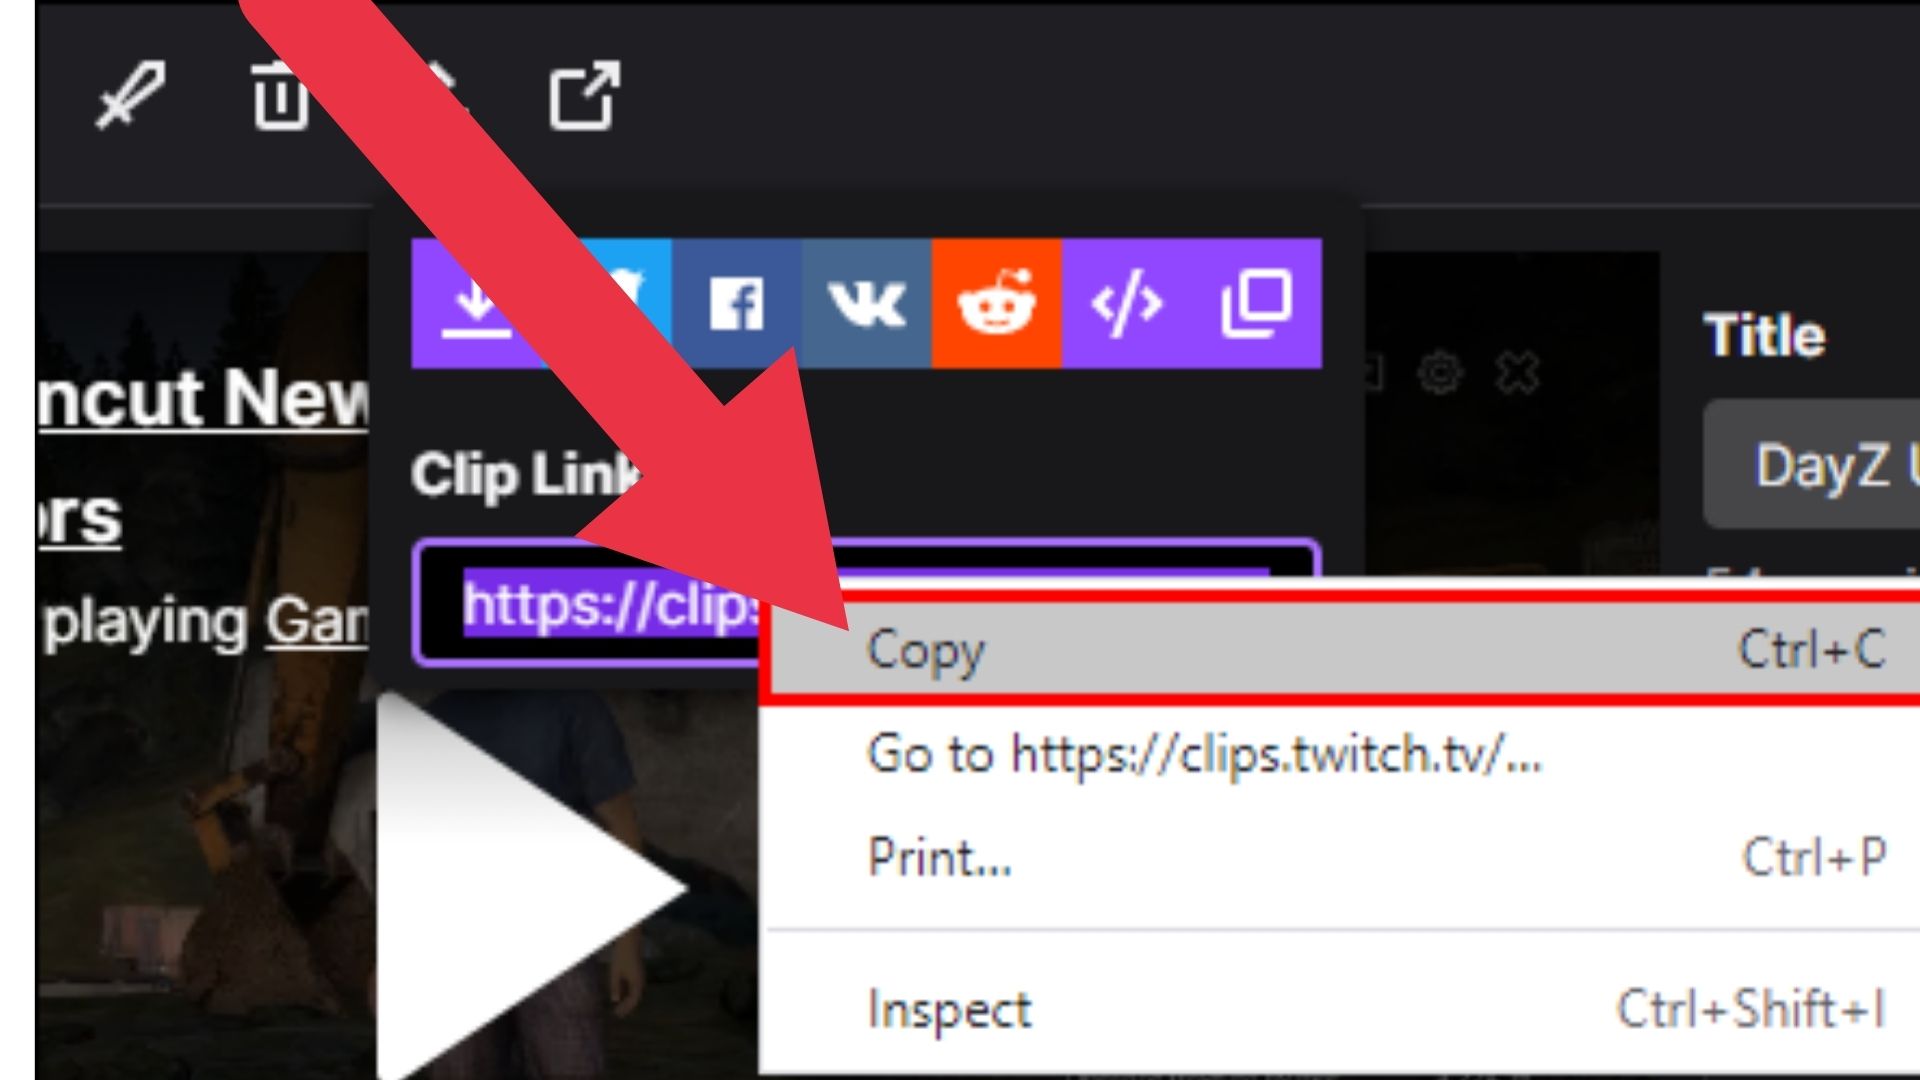
NOTE: If you want a direct link to the clip, click on ‘copy to clipboard’ and you can paste it wherever you want.
How To Clip On Twitch For Smartphones? [Android & IOS]
Twitch is also compatible with mobile devices. Here’s how you can clip and share content on Twitch for mobile devices:
- Download the app from Google Play (Android) or App Store (iOS).
- Use your credentials to sign in to your account on Twitch.
- Begin by playing a previous broadcast or live stream.
- Briefly tap the video when you want to clip something you like.
- Now, tap on the top-right corner of the pane where you find the option to ‘clip’.
- In the following screen, you can either choose to share 30 seconds of the footage immediately by using the share options at the bottom on the ‘create clip’ screen.
- Alternatively, you can select the ‘Preview and edit’ option to trim the clip before sharing. Edit it as per your liking by using the handles within the timeline.
- Lastly, name it before you hit ‘publish’.
How To Create Clips on Twitch For Xbox One?
If you're looking to create a clip for part of your Xbox game on Twitch, there is a way! But, you will only be able to record the last 30 seconds of the game and publish it on Twitch.
Here is how you do it:
- Push the Xbox button on your controller to record.
- Once you push it, the menu tab gets opened.
- Now, push the 'X' button to record. You can take that recording and publish it on Twitch.
NOTE: You will not always be permitted to record clips on Twitch for Xbox gaming streams.
How To Manage Clips On Twitch?
Twitch allows you to manage all the clips you and the users of the channel created through a dedicated section.
To manage clips on your Twitch application, you can:
- Open the dashboard on your application by tapping the 'hamburger' icon.
- Tap on 'Content' & go into 'Clips'.
- Now, click on 'Clips Manager' to manage the clips.
- You can find 'Clips I've made' and 'Clips of my channel' with segregation.
You will also be able to filter, sort, and get clips based on engagement, activity, and several other parameters. This makes management, improvement, and enhancement easier for creators on Twitch.
How To Delete Clips On Twitch?
Whenever you don't like or want a clip on your library, there is a 'DELETE' option to save your space.
Here is how you can delete your Twitch clips:
- Log on to the Twitch Website.
- Click on your profile picture at the top right corner.
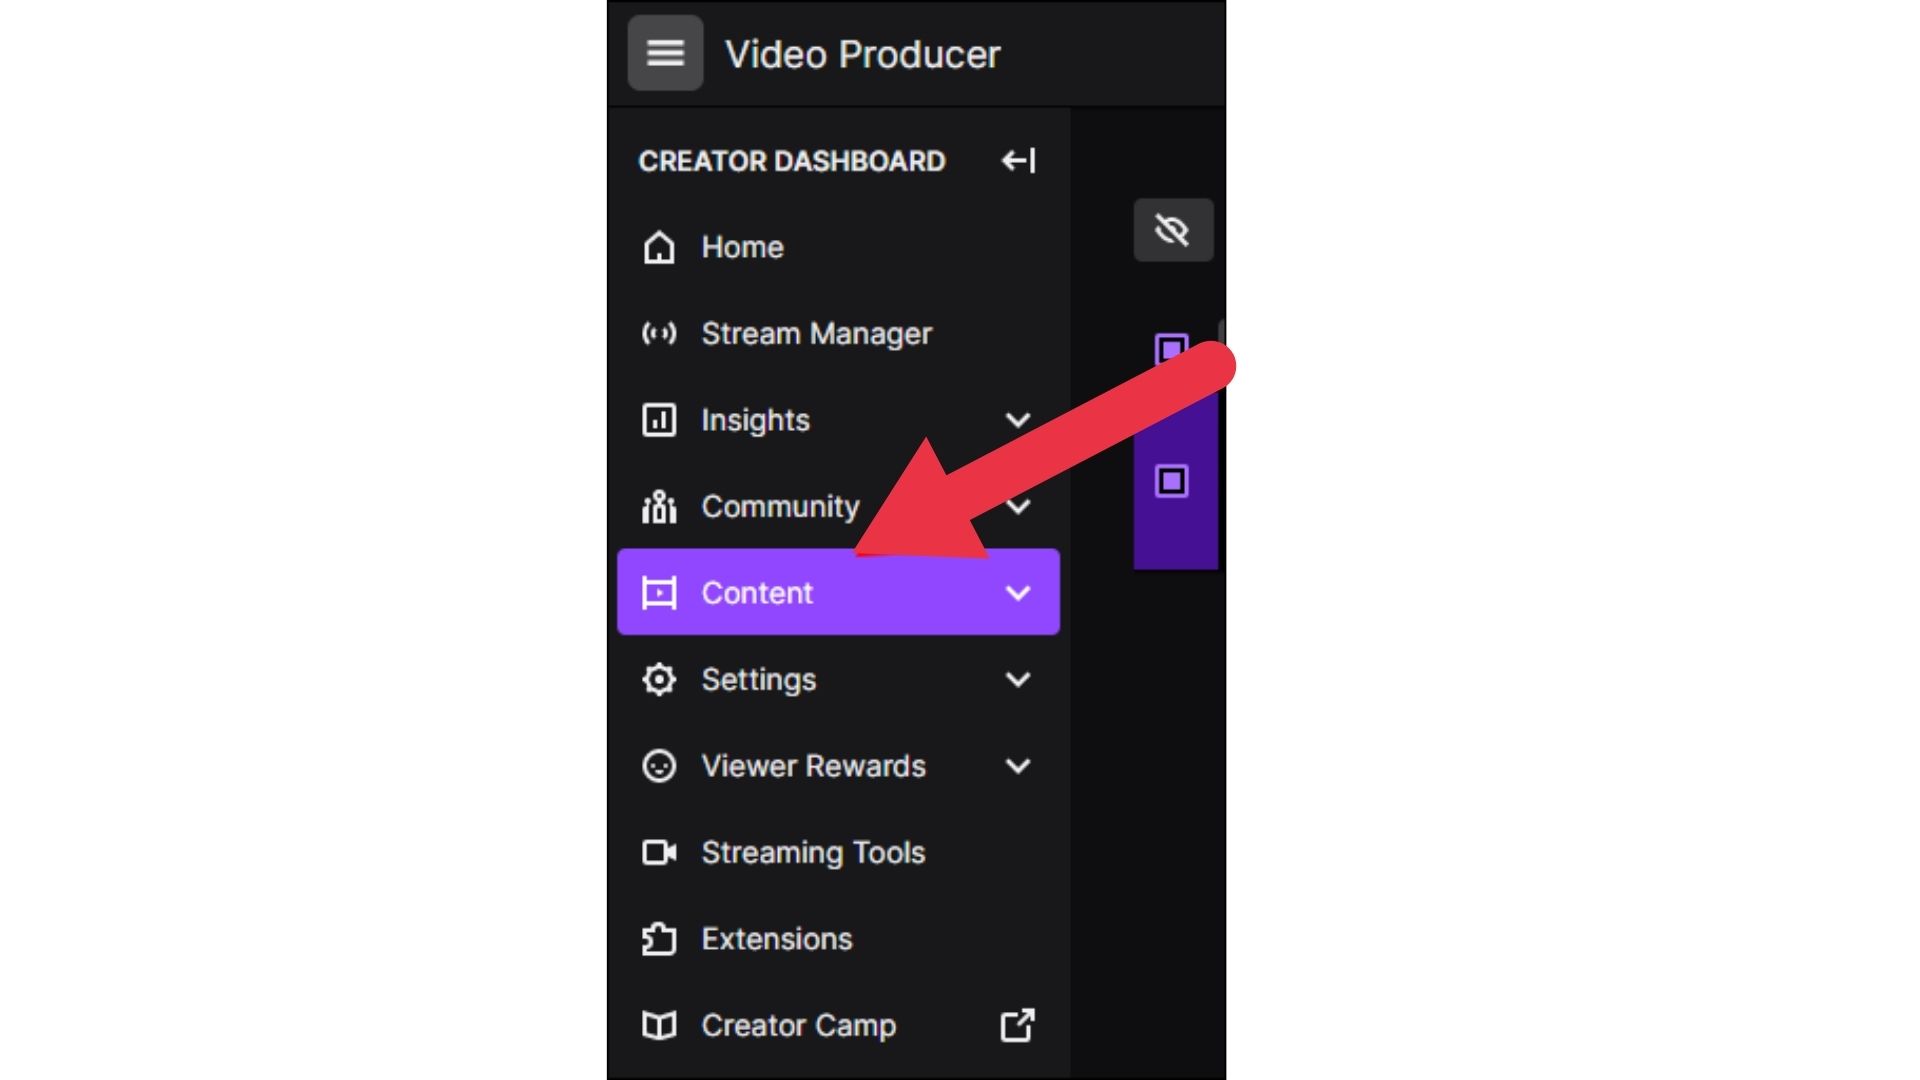
- In the drop-down menu, click on the 'Creator Dashboard'.
- Navigate and click on 'Clips' under 'Content'.
- Select all the clips you don't need by ticking the checkboxes on the left of each video.
- Click on 'Delete Selected' to delete all the selected videos.
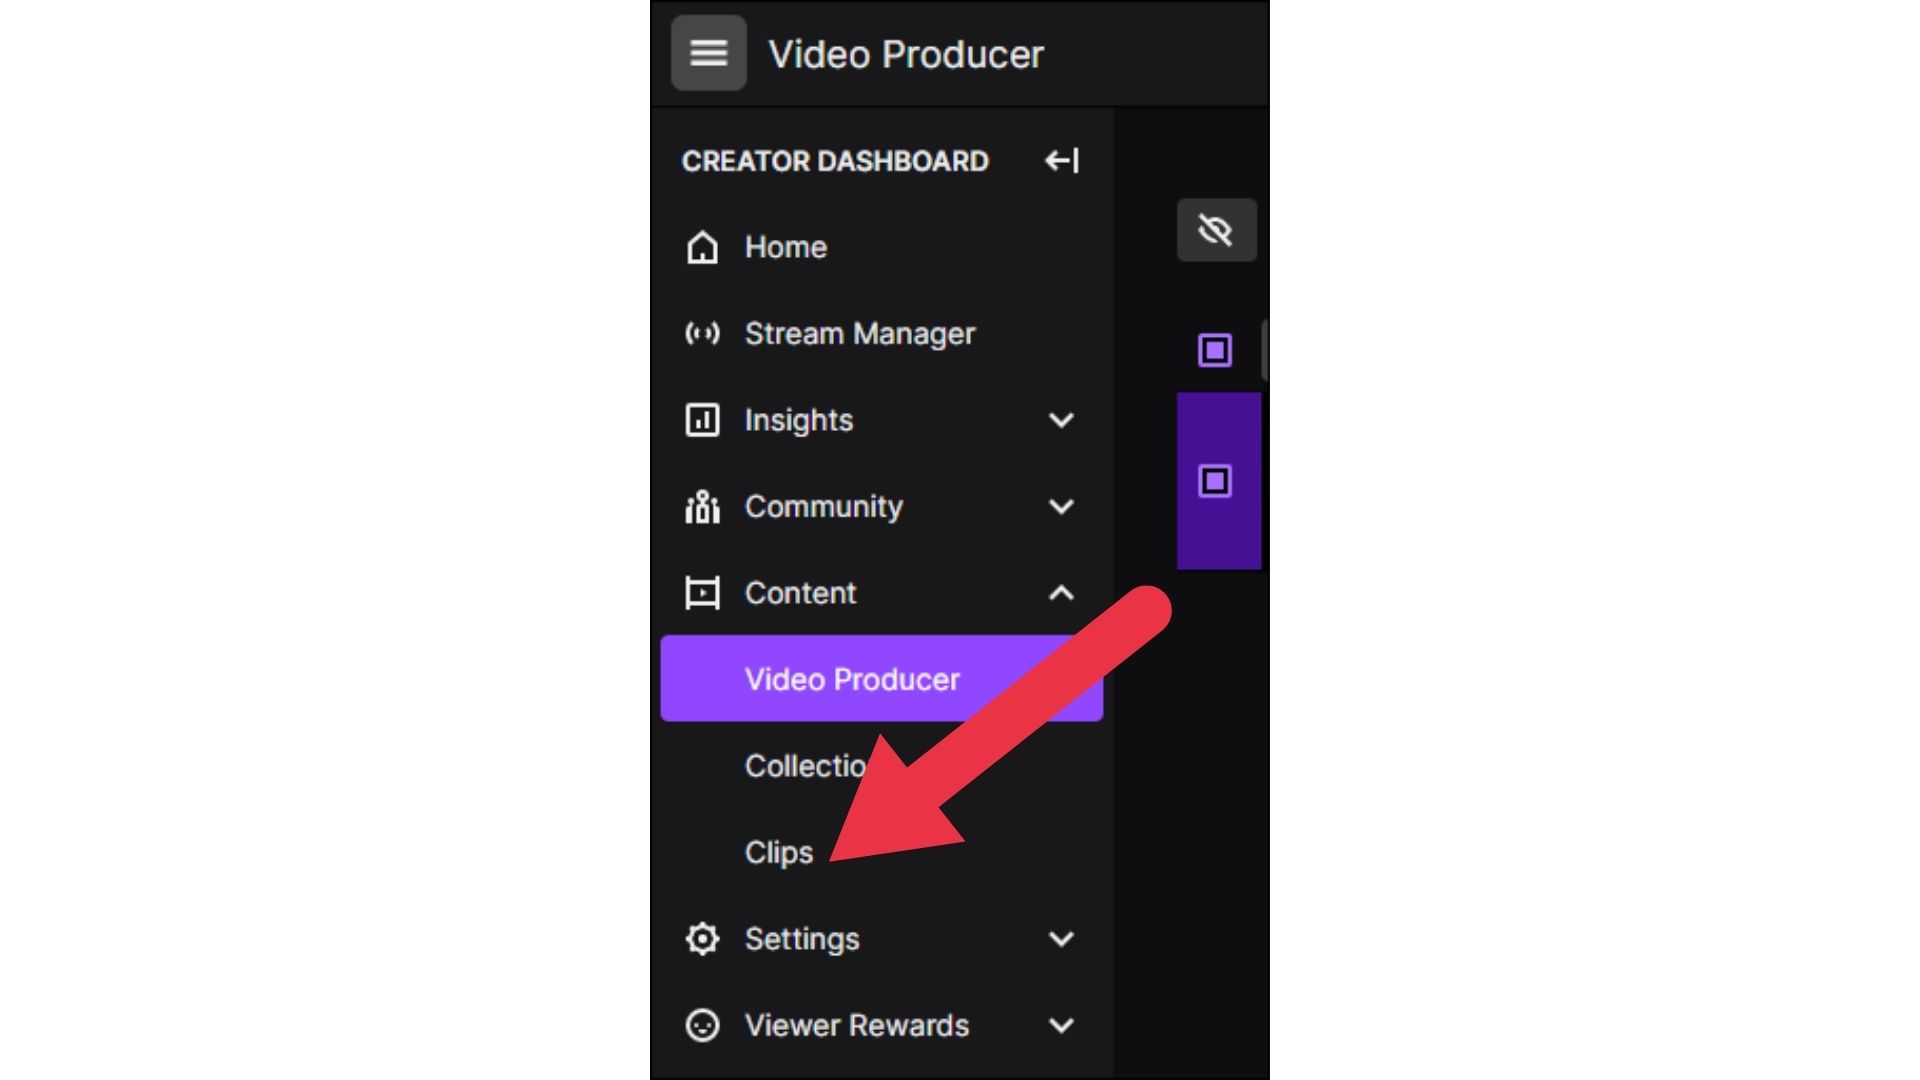
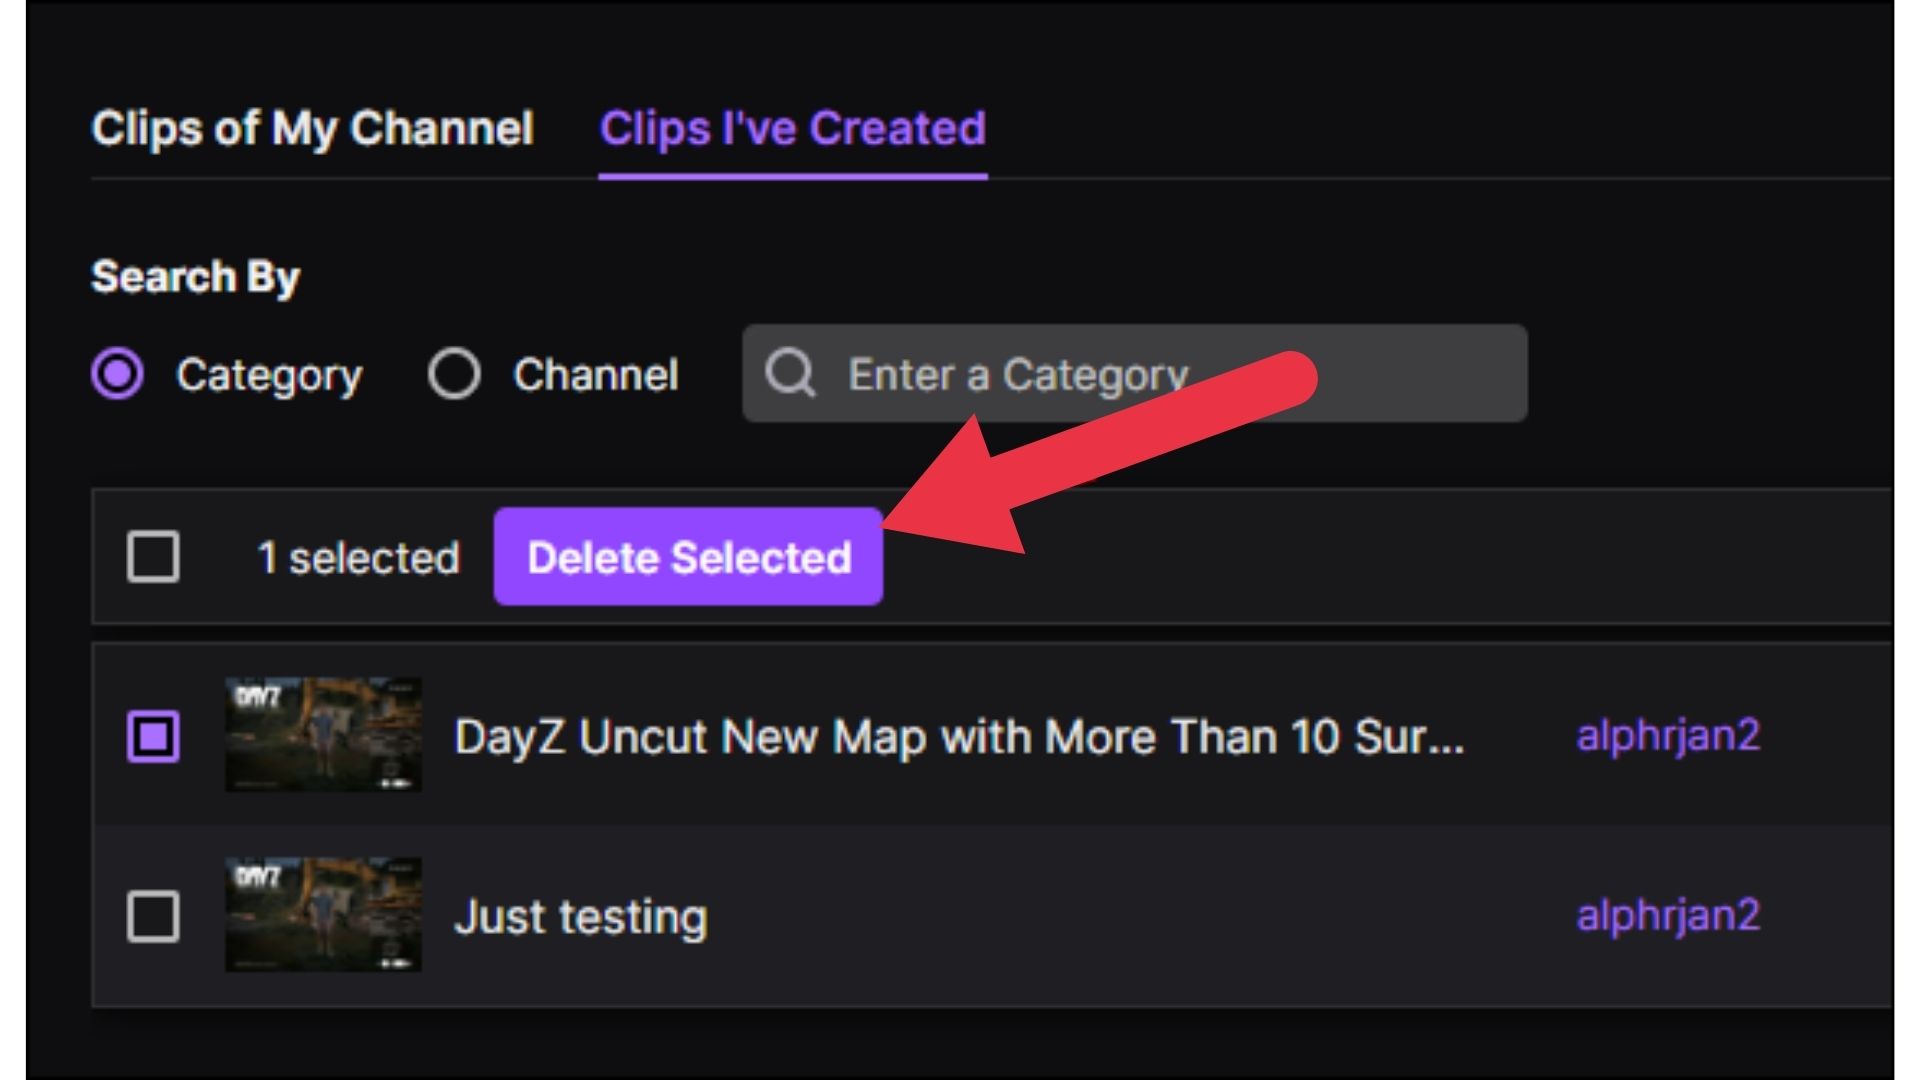
If you want to delete your followers' clips, filter the videos clipped by followers ➝ 'Select all' ➝ Hit 'Delete Selected'.
NOTE: You will not be able to delete your twitch clips out of your desktop application.
How To Share My Twitch Clips?
If you wish to share a Twitch clip from your library, you can do it by following these steps:
- Go to your channel in which the clip you wish to share is present.
- Scroll and choose the clip that is to be shared.
- Once selected, you can directly click 'Share' and post it on social media.
- If you wish to share it via a link, there is an option to copy the link for each video. After copying, paste it on stories or texts of any platform and hit send.
Conclusion
Here you go! You now know how to clip on Twitch, share clips, and also to delete clips. Once you get used to it, you will see how easy it is to use clips while using the application.
FAQs
1. Will I be able to download videos from Twitch?
Ans. Twitch does not allow you to download videos directly. But yes, you will be able to download videos from Twitch using a third-party application called Clipr. Open 'Clipr' on your browser ➝ Copy the clip's URL ➝ and Paste it into the box given on the website. Now, your download will get started.
2. Is there monetization opportunities on Twitch?
Ans. There are several ways for you to monetize your presence on Twitch. Here are some of the ways which you can exploit: Subscription-based model, Getting sponsorships, Launching your own merch, and partnerships with brands.
3. How to create highlights on Twitch?
Ans. To create highlights on Twitch, you should Go to your dashboard ➝ Click on the 'more' icon ➝ Tap on 'Content' ➝ Click on 'Video Producer' ➝ Select the videos you wish to highlight. You can use highlights as an opportunity to engage with your audience.
4. Is there a keyboard shortcut to clip on Twitch?
Ans. Yes, for Windows, press 'ALT + X' to start clipping the stream of your choice. Mac users can press 'Options + X' to do the same.
Related Articles
⇾ YouTube Video Not Processing? Why It Happens & How Can You Fix It?
Trending Articles
⇾ Cool Xbox Names & Gamertags Ideas
⇾ How to Get Verified on Snapchat? Everything You Need to Know About the Golden Star.
⇾ How to Whisper on Twitch? Here’s How You Can Send Private Messages.