How To Add Reaction Roles on Discord Using Your PC and Mobile Device
Written by: Hrishikesh Pardeshi, Founder at Flexiple, buildd & Remote Tools.
Last updated: Sep 03, 2024
As a Discord server admin, you might wonder how you can add reaction roles to make your server fun and interactive. Reaction roles on Discord can help you stay organized and allow a user to select open roles effectively. This feature makes it possible for users to assign and unassign themselves to a role by just reacting to a message with an emoji.
To effectively create reaction roles on your Discord server, you'll need to add a bot to your Discord server. Read this article to discover how you can add reaction roles to your Discord server using Carl Bot using your PC or Mee6 bot using your mobile phone.
TLDR
Follow these steps to add reaction roles to your Discord server:
-
Visit Carl bot website and add the bot to your Discord server.
-
Go to your server settings and go to your roles settings. Ensure that carl bot is the first role on the list.
-
Create a new role by selecting the Create Roles option. You can decide to create as many roles as you wish.
-
Make the reaction role in your get-started channel by typing ?reactionrole make and then press Enter.
-
Add the title, description, and color of the role. Choose the role name (same as the name of the role you just created) and emoji.
-
Type Done to complete this process.
Table of Contents
How To Add Reaction Roles to a Discord Server Using a PC
Follow these steps to add reaction roles to your Discord server using the Carl bot on your PC:
Step 1: Add Carl Bot to Your Discord Server
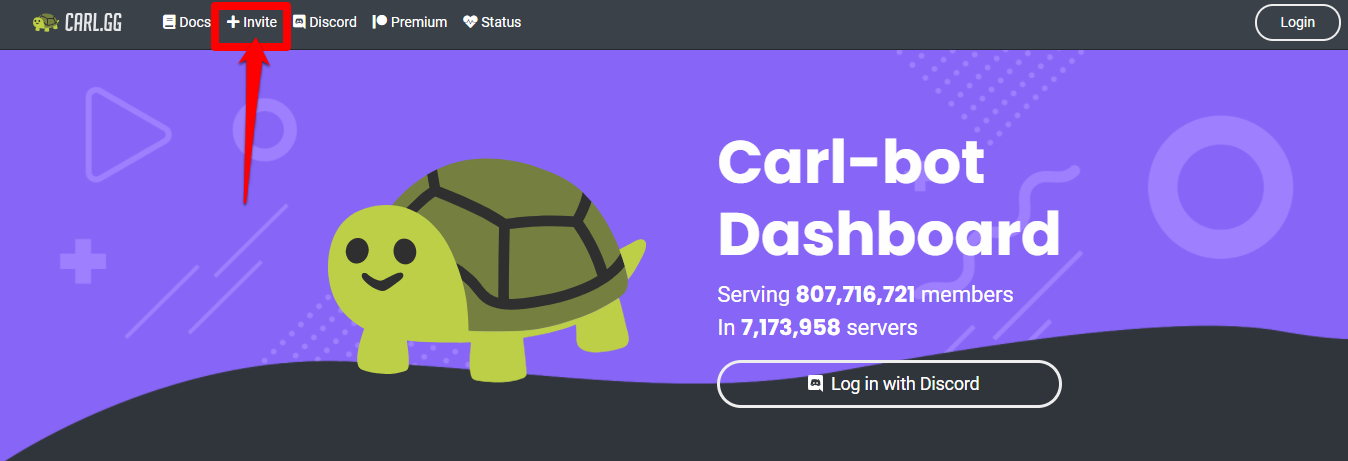
Visit the Carl bot website and click on the Invite tab at the top navigation bar.
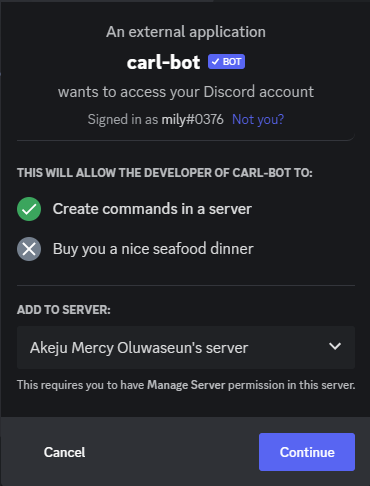
Select the server you wish to create reaction roles in and click on Continue.
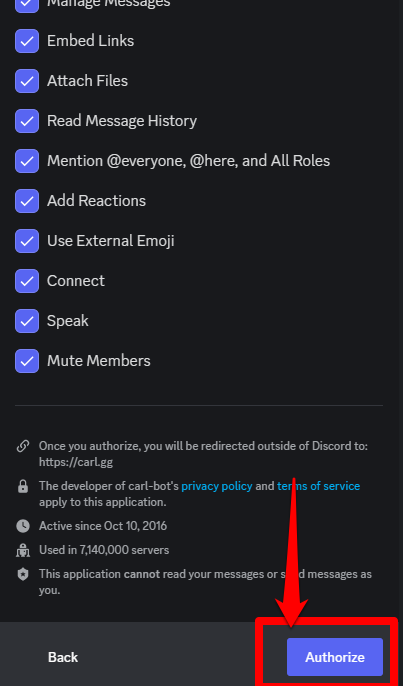
Select the permissions you want the bot to have in your server and click on Authorize.
Check the box on the window that appears next to prove that you're human. After doing this, you have successfully added the Carl bot to your server.
Step 2: Go to Your Server Settings
Open Discord and locate the server name you want to create the reaction roles on Discord. Note that only Discord server owners can create reaction roles on Discord or users that have administrator permissions to set up a Discord bot.
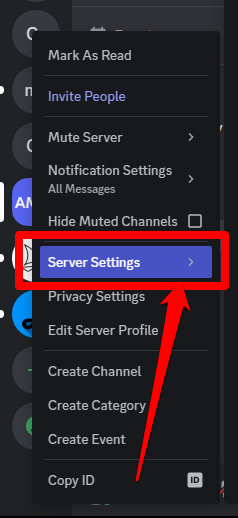
Right-click on the server icon and on the drop-down menu that appears select Server Settings.
Step 3: Create Roles
On the server settings page, click on the Roles tab on the left side of your screen.
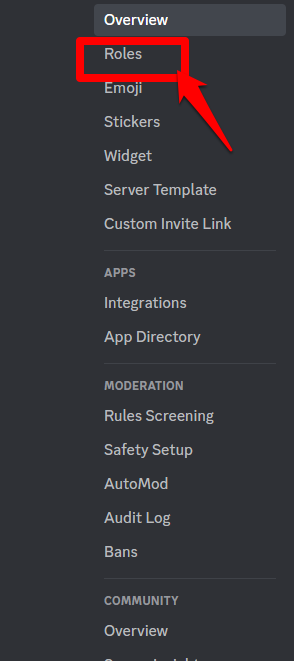
Create new roles that you want the server members to assign themselves. To create a new role, click on the Create Roles tab.

Enter a name for the role and decide on a color of your choice.
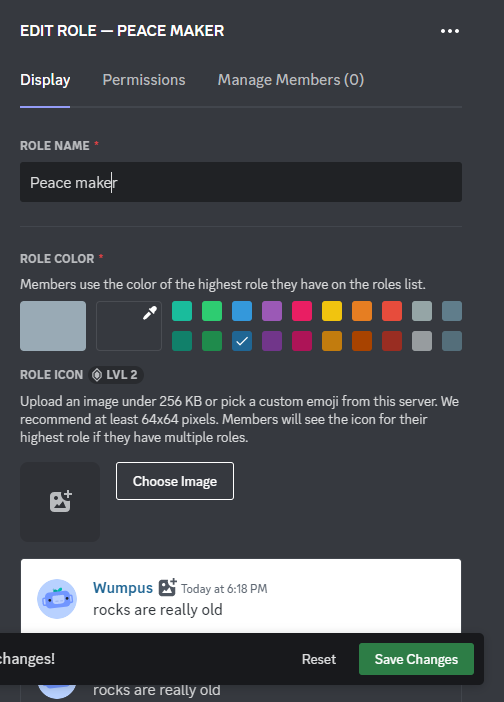
Scroll down that page until you see a Display role members separately from online members option and toggle on the switch beside it.
You can go to the Permissions header to choose which permissions to assign to the new roles.

Click on Save Changes once you're done with this setup.
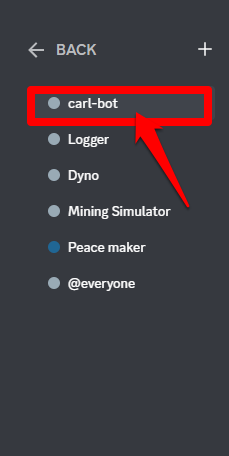
Before moving on to the next step, ensure that the Carl bot role is at the top of your roles list. To do that, hover your mouse cursor over the Carl bot and drag it to the top of the list. Click on Save Changes after doing this.
Step 4: Select your get-started Channel
Go to the channel where you want to add the reaction role. Most server owners prefer to create channels designated for this particular function.
Consider creating a specific channel where you can add the reaction role. You can create a text channel. Make the channel name get started so that new users on your server can easily navigate the roles on your server.
You can create a new channel by clicking on the + icon beside the Text Channels tab.
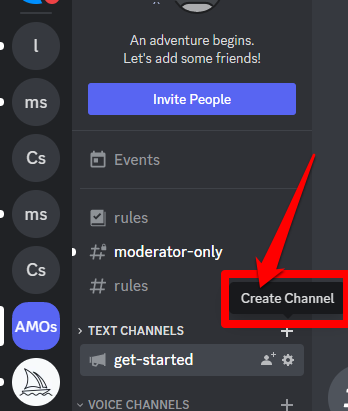
Go to the new channel you just successfully created. You can also set your channel permissions to not let any user send messages to the server.
Step 5: Make the Reaction Role
Type ?reactionrole make command in the message bar of the get started channel.

Carl bot will reply asking you to type the channel that you want to use after entering this command.

Type get started as your reply, as this is the channel name, and hit Enter on your keyboard.
Step 6: Add Your Role Title and Description
After typing the channel's name, the carl bot sends a reaction role message telling you to type your role title and description of the associated role in a specific format. The format is This is a title | This is a description.

For example, if you want the title of your role to be peace and the description as settles disputes in the channel, you would type Peace | settles disputes in the channel.

Step 7: Add Role Color
Next, carl bot would ask you if you want to add color to the role. If you don't want one you can type None on the message bar and hit enter on your keyboard.

If you want one, reply with a color hex code which you can get from this website. Select the color you want. The hex code of the color you chose is the code that begins with a # and appears next to HEX.
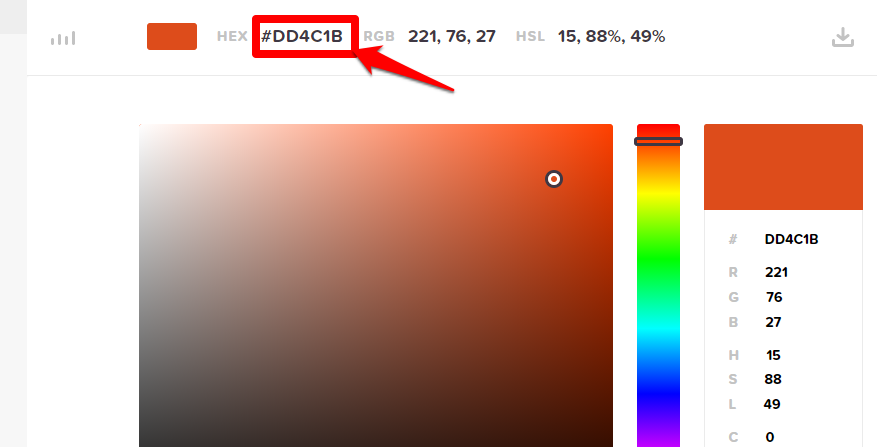
Copy that code and paste it on your message bar and click on Enter.
Step 8: Choose a Name and Emoji for the Reaction Role
Next, you can add the roles. You will need to specify the emoji you want people to react with to get their own roles, followed by the role's name.
You would use the same name as the role you created earlier. Type your emoji and name in this format :emoji: role name.

For example, suppose you want to use the smiley face emoji and the role name is peacemaker, you can type :smile: Peacemaker.
Press enter when you are done.
If you created different roles, you can repeat this step again.
Step 9: Type Done
Once you're done entering the roles, you can type Done on your message bar and press Enter on your keyboard. You've successfully created reaction roles using the carl bot.
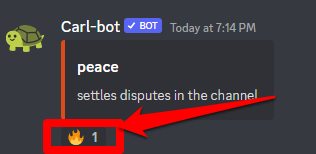
When a user joins the channel you created the reaction roles, they will be greeted by the Carl bot who will show them the roles option. All they need to do is to react to the message of the option they want.
You can create up to 250 reaction roles using the Carl bot making it easier for you to make multiple roles on Discord.

How To Add Reactions to a Discord Server Using Your Mobile Device
You can add reaction roles using your android or iOS device using the Mee6 bot. The reason for using this bot is that it does not involve many steps like the Carl bot making it a good fit for your mobile device.
Follow these steps to use the Mee6 bot to self-assign roles in your server:
Step 1: Visit the MEE6 Website
Visit the Mee6 website and log into your Discord account.
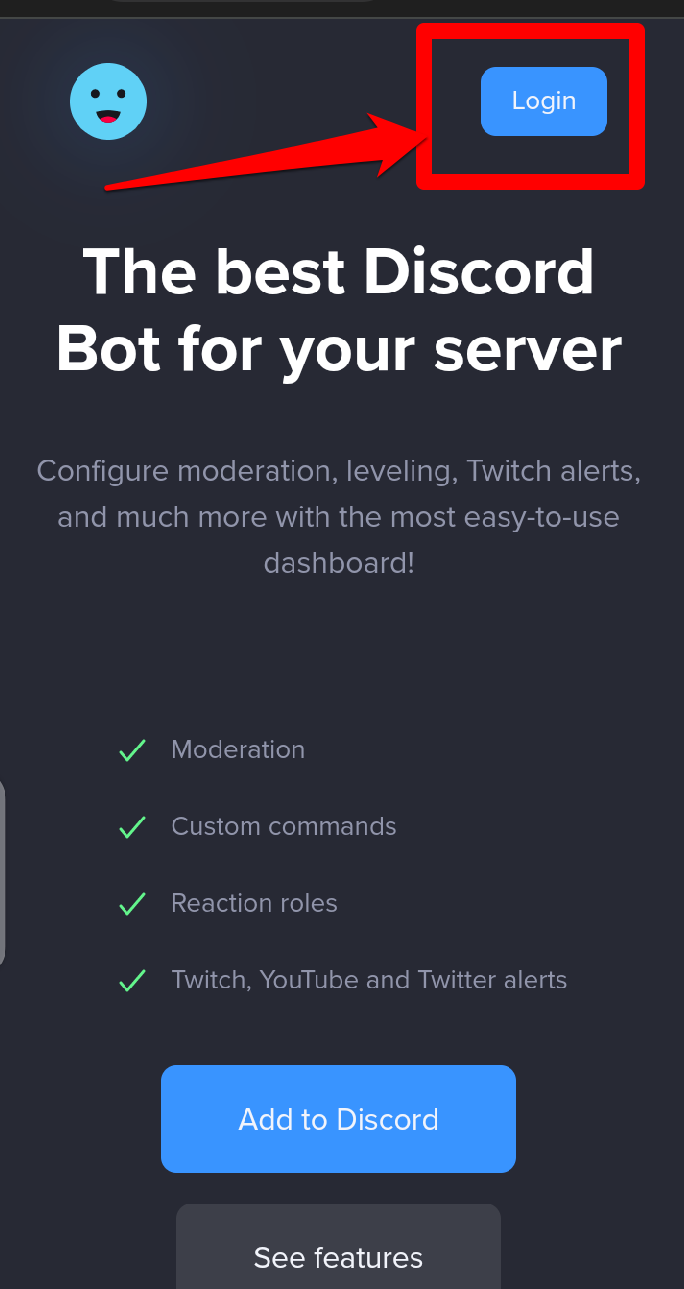
Allow the Mee6 bot to have access to your account by clicking on Authorize.
Step 2: Add the MEE6 Bot to Your Server
Choose the server that you want to create the server of your interest. Click on Plugins and select Reaction roles. Select Yes to accept the plugin.
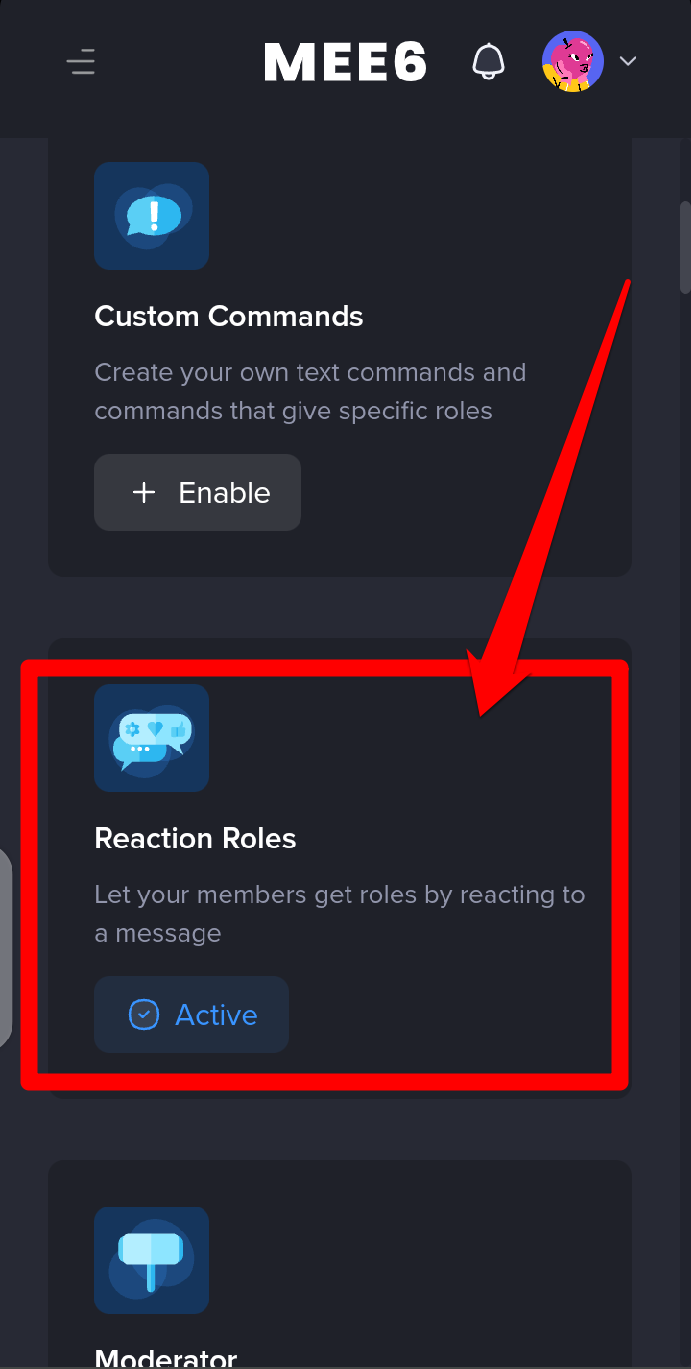
Follow the guide on the pop-up window and fill out the necessary details. This includes the channel in which you want the reaction roles to appear.
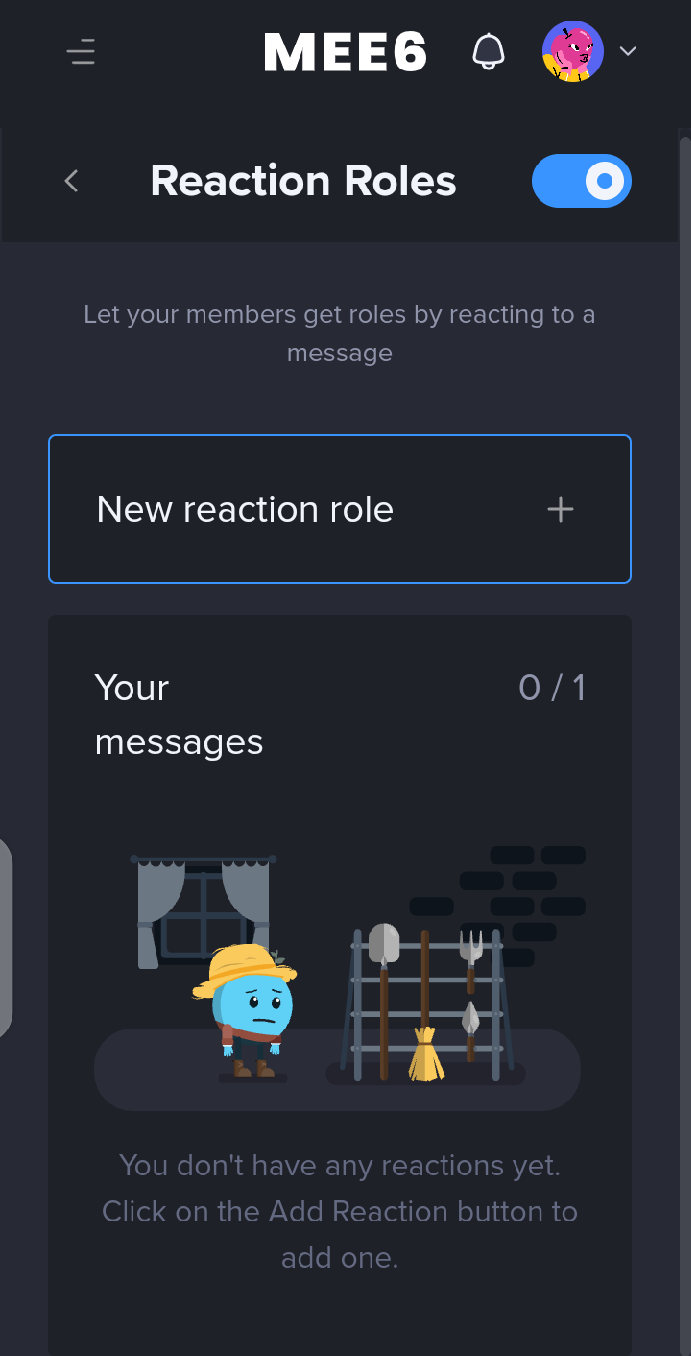
Click on Save when you are done.
Step 3: Update Your Discord Server Permissions
Finally, ensure that you update your server permissions section by enabling the Read Messages and Add Reactionsoptions.
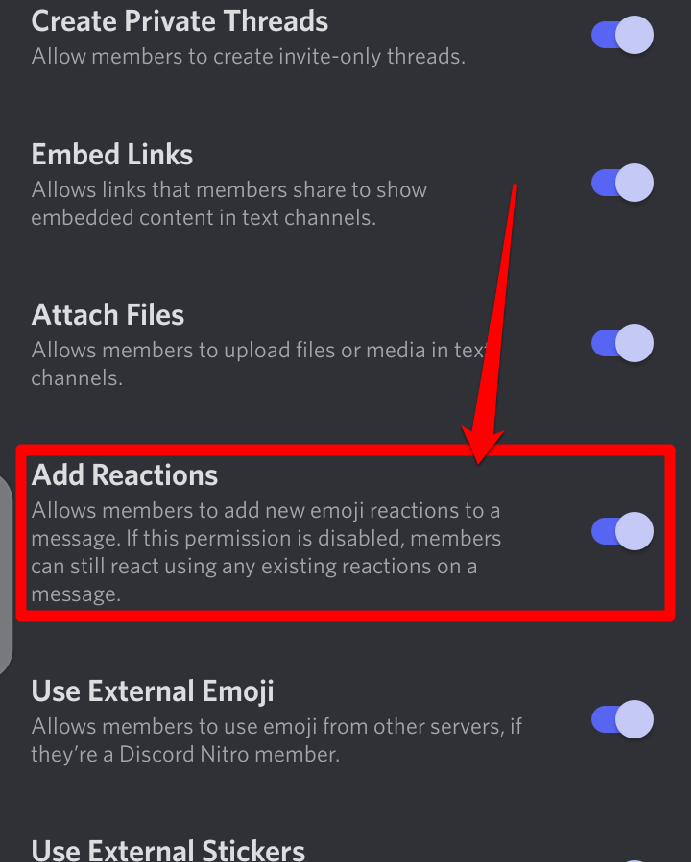
Following these steps, you have effectively created reaction roles on your Discord server using a mobile phone.